

The home stretch
October 23, 2020
Cycling in Denmark
December 1, 2020DIY tips for a winter adventure
When we prepared for our first winter trip, we searched the internet for tips. We have now gained extensive experience in our ski trip on the Route blanche. For two months we skied 900 kilometers and slept in our tent many nights. We love it so much! In this blog you will find tips that you will not find anywhere else because we invented them ourselves. It are our DIY tricks that we mastered ourselves, looking for better or cheaper. The small tricks of a creative beginner, who discovers small solutions himself. Now we share our own personal finds with you.

Gloves tied in the front

Mouth cap to protect from the cold
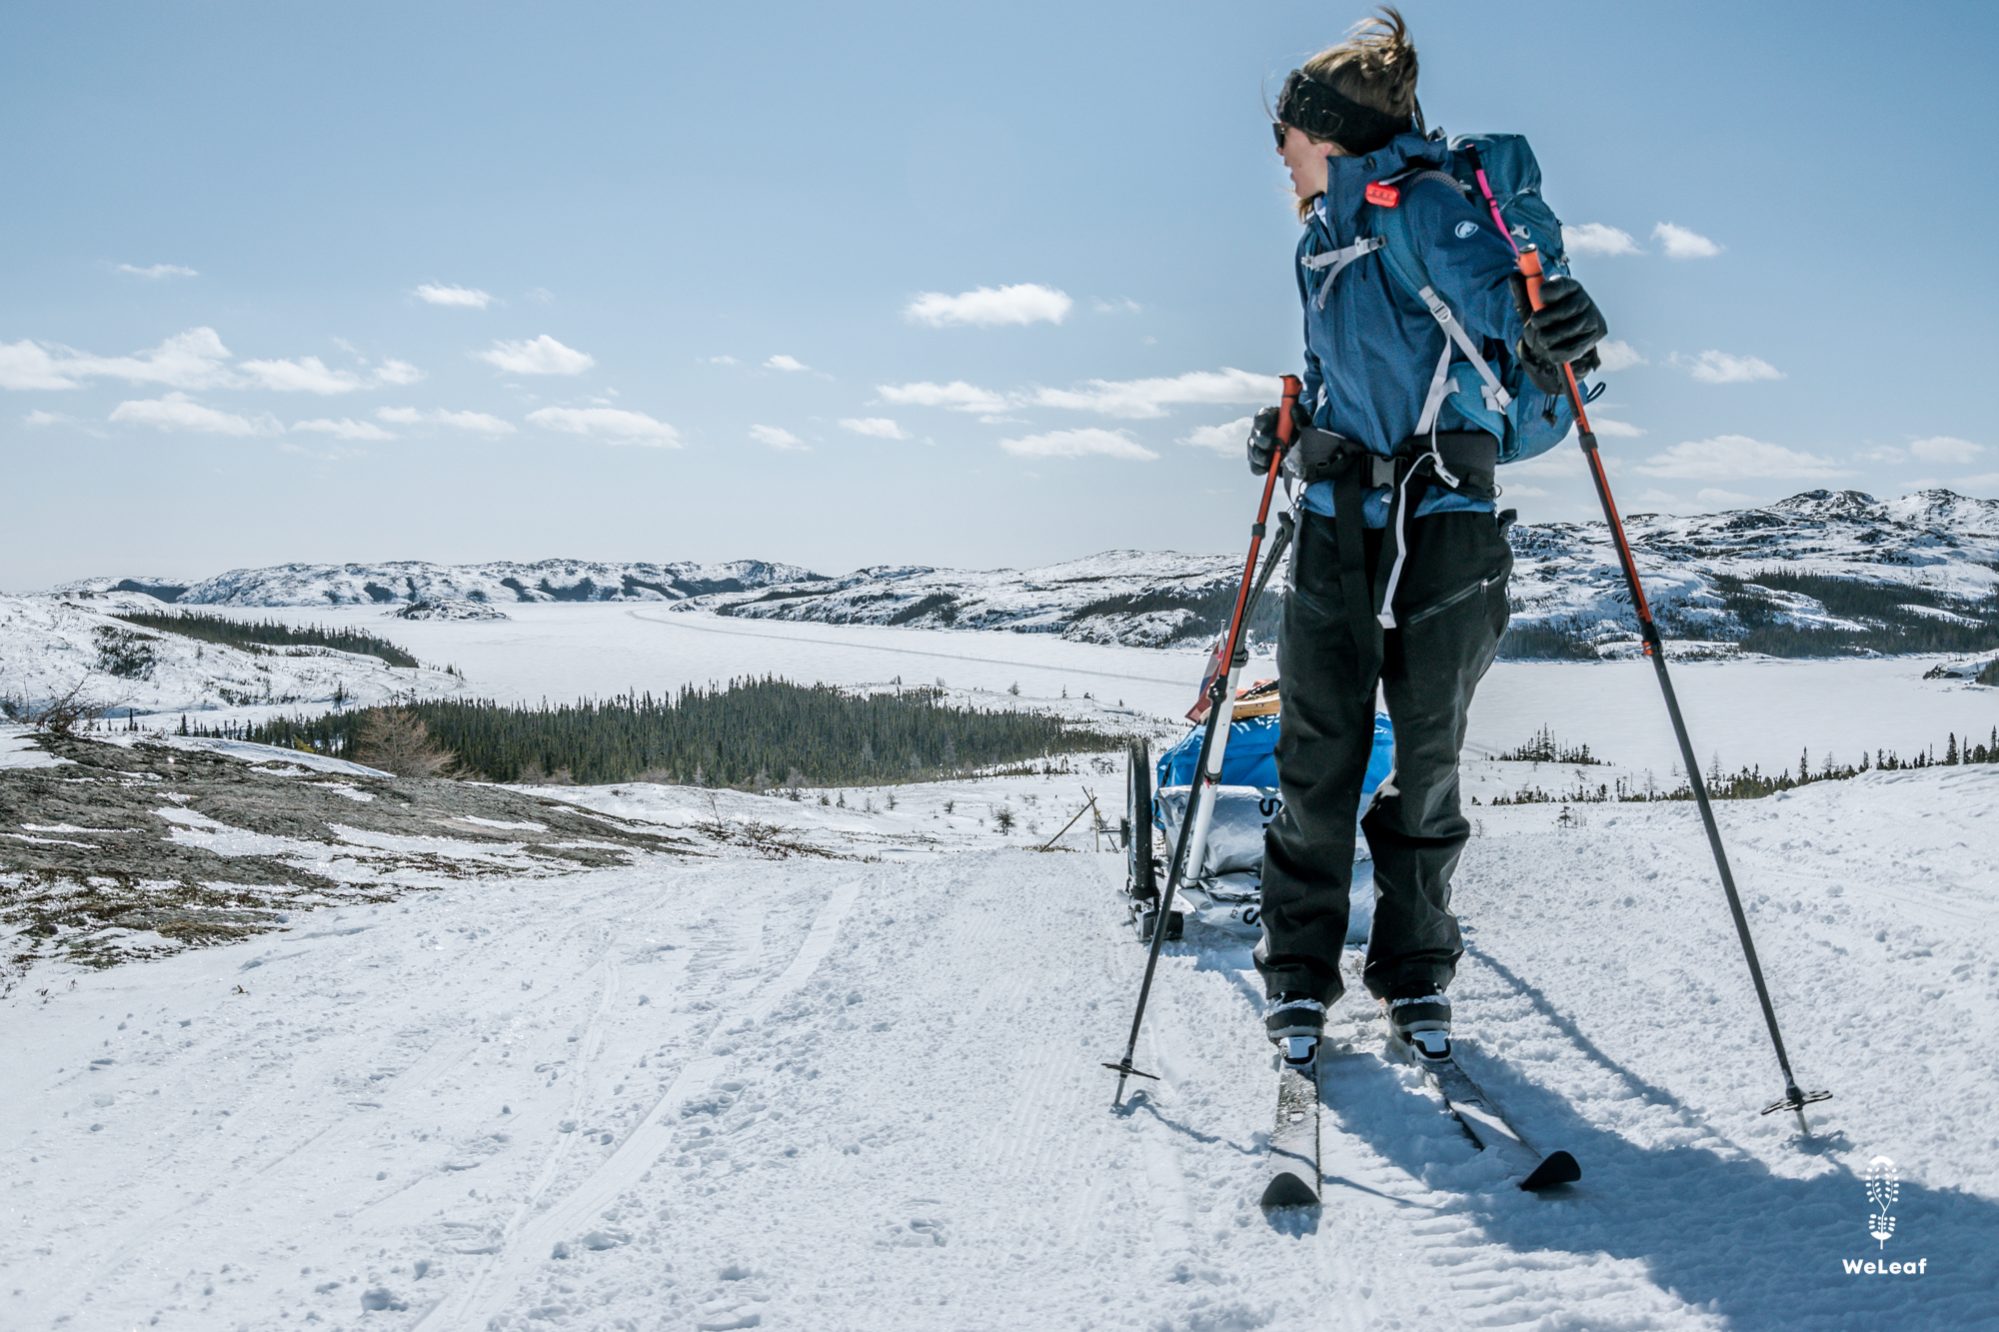
1. Tie up your gloves
during our winter trip we use gloves, but we are regularly so warm that we do not wear our gloves. Body temperature rises quickly once we are moving, but a little breeze can freeze our hands. Gloves go on and off a dozen times a day on a winter trip. The gloves are too big to put in the pocket of our jacket, but we want to be able to access them easily and not constantly stop to take the backpack off or do clumsy manoeuvres. This quickly created the trick to tie the gloves to the hip straps of the backpack, as shown in the photo. Very close in reach, with a simple knot. This way we can always access it quickly.
2. Mouth cap
During a winter trip we must be well prepared for extreme temperatures below freezing. With cold wind, frostbite is a mayor risk. It is always wise to use oily sunscreen or zinc oxide to protect the skin, but in extreme cold we want a layer on our face. That icy wind is just too cold. There exist buffs and balaclavas, but they have a drawback: they get wet with our breath, freeze and feel cold. In addition, Zoe breathes with her mouth open and a tight buff over her mouth is very oppressive. A simple trick turns out to be a mouth cap. It forms a nice warm cocoon by the warm breath and even protects the tip of the nose. A great solution.

Rolled up foam mattresses with a double function

Overshoes as lightweight camp boots
3. Climbing skins protection
Skins are a synthetic strip with hairs that stand in one direction, which we stick under the skis in hilly terrain. They ensure that the skis do not slide down by pressing the hairs against the snow. The skins stick with an adhesive layer to the skies, but as soon as you no longer need them, you want to protect that adhesive layer. In a dollar store we bought a roll of plastic gauze to stick the skins on when we are not using them. Easy and a lot cheaper than the expensive protections they sell in an outdoor store.
4. Rolled up foam mat
To sleep comfortably and safely in extreme cold, it is necessary to have a foam mat that blocks the cold of the surface. Many winter trekkers put the bulky mat on the bottom of their sled to save space. We tied the mats to the bars between our harness and the sled. This way they had a double function as a chair during our breaks. It is advisable to put them in a plastic bag so that they remain snow-free and you don't waste minutes in the evening to knock the snow out of the holes. We tied the rolled up mats with an elastic rope and a small carabiner. Due to the elastic rope it is not necessary to loosen the mat when you sit on it. A welcome trick for the tired legs.
5. Overshoes
The use of high overshoes for winter trips doesn't seem to be very well known, but we think it is a discovery. The shoes are an important part of our winter clothing (packing list, movie winter clothing). These are high shoes where we can step into with normal shoes. In our camp we use them over our down booties. The overshoe protects against moisture and wind and is ideal for deep snow. We can step in quickly from our tent and their wide sole helps to compact the snow.
6. Neoprene socks
Frozen shoes on winter trips are a very common problem. After a long day of skiing in warmer temperatures the shoes get wet and they freeze at night. To counter this it is useful to use a 'vapor barrier liner (VBL)'. This can be a simple plastic bag between two pairs of socks, or a special VBL sock. Olivier chose to use neoprene socks, mostly used in water sports. Their function is to warm the layer of water between the body and the sock so that the body can stay longer in cold water. This material doesn't let moisture through and therefore keeps the shoes dry. Olivier came up with this idea thanks to our canoe adventure on the Northern Forest Canoe Trail. The neoprene socks also helped against his blisters. Olivier experiences it as a very successful test. The only drawback: they start to smell incredibly bad, both the neoprene socks and your feet. Zoë preferred to wear two pairs of regular socks and sweat in the inner layer of socks.

Nordic Cab trailer as a sled

Climbing skin protection
7. Children trailer as a sled
Many winter travellers choose a pulk, an expedition sled. We thought we would make one ourselves, but for our future plans we would like to mount wheels on the sled. As a result, we ended up with the Nordic cab trailer, a trailer normally used to sport with children. Many people know this type of trailer as a Chariot, which is a model made by Thule, but isn't as suitable as the Nordic cab trailer. It turned out to have many benefits for us. The trailer has small skis for winter adventures, which makes it very stable and has much less resistance because the whole sled doesn't pull on the ground. The main advantage is that the skis can be replaced by wheels, easy for transport of the sled or to remain agile during the ski trip when arriving in villages.
8. Camera in a cool bag
To protect our Camera from the cold temperatures, we put the device in a cool bag, used for picnics. The camera itself can handle the cold well, but it is fragile at rapidly changing temperatures. The cooler bag ensures that the climate in the bag slowly changes with the outside air. In addition, the bag provides a good protection.


